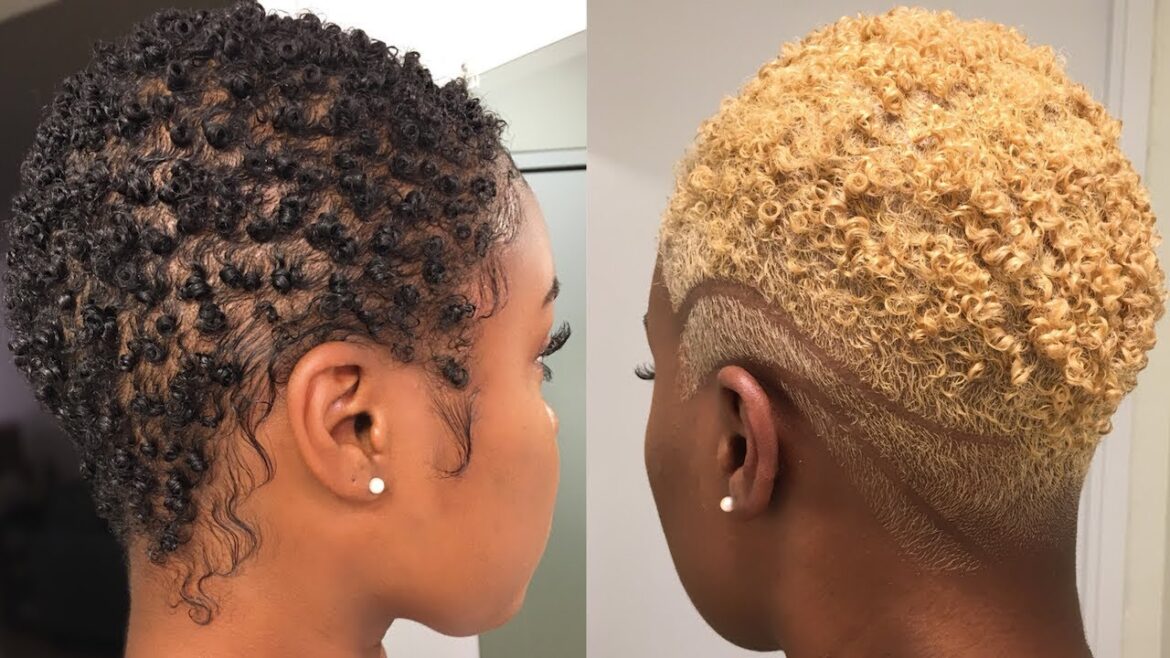
Do you want to learn how to beach your hair without stepping out of your home? Bleaching is different from hair dyeing because you have to add a different colour instead of the black dye. You strip off your hair colour and rock a new colour ranging from white to grey. You have many colours to pick to suit your preference. With bleaching you can go wild with colours like red, or calm with colours like pink.


However, your hair must be in healthy condition if you must bleach your hair. We have listed how you can prepare your hair before you bleach.
Work With Virgin Hair
If you have a damaged hair, bleaching could damage it more. Therefore, you must ensure that you have a virgin or near virgin hair before you bleach. You don’t have to process the hair for three months before you consider bleaching.
However, if you have coloured or processed your hair, ensure that you wait for at least three months before bleaching. If you want the best result, you should bleach an unprocessed or virgin hair.
Take A Hiatus From Styling
We recommend that you take a break from styling and using shampoos and products that contain sulfates and alcohol. Any of these products could stop moisture loss from the hair.
Condition Like Your Hair
Many of us are not aware that we need to condition our hair some weeks before we can start our bleaching. We recommend that you condition the hair at least two weeks prior to your hair change.
Coconut Oil Is Your Best Friend
You cannot ignore coconut oil if you want a healthy hair. You soak the hair in oil a night prior your bleaching. The practice would give you a different result you would love after bleaching. With coconut oil, the hair enjoys a protective barrier over the shafts and this prevents moisture loss.


Tools Require For Bleaching
You the following tools:
- Balancing hair shampoo
- Protein-balancing hair conditioner
- Old towel and clothes
- Tinting brush
- Plastic/Glass mixing bowl
- Shower cap/ Plastic bag
- Toner (optional)
- Clips for sectioning
- Plastic/Latex gloves
How to Bleach Your Hair at Home
You don’t have to wash the hair two to three days prior to your bleaching. Before you begin the process, ensure that you stay in a well-ventilated area. Make provision of good lighting, a mirror, and a table.
Step 1: Put on Gloves and Wear Some Old Clothes
You don’t want to spoil your outfit with bleaching ingredients. Therefore, wear old clothes and don’t forget to put on gloves.


Step 2: Section Your Hair
You should separate your hair to secure your crown. In this way, you can work on the back of the hair without difficulty since the crown is challenging to reach.
Step 3: Mix The Bleach Powder And Developer
You should mix the developer and bleach hair dye. Ensure that you add two parts of your developer for a part of the dye. The mixture must be consistent without lumps.
Step 4: Apply The Bleach
Apply the beach on your hair and cover the hair with a plastic bag or a shower cap when you are done.
Step 5: Bleach The Higher Sections
When you have completed the bottom parts, you should undo the part you have secured with the cap or bag. When all the hair is covered, you should cover the hair again.

Step 6: Wait For The Magic
You have to wait for at least 30 minutes after bleaching for an effective result. However, keep checking your hair to see if its colour has lifted. The hair may turn orange at the onset, but don’t worry. It would definitely change to the choice dye colour you want.
Step 7: Wash Your Hair And Let It Dry
You would wait for 30-40 minutes before you can rinse the bleach away. You need a balanced shampoo to help you balance the hair’s pH levels of the scalp.
Step 8: Toner (Optional)
Some people may not want the warm tones and they use toner. You can replace your bleach with a toner and start with the process above. Meanwhile, a toning shampoo can remove the warm tones if you don’t it. Finally, you should ensure you take care of your hair after bleaching.

